Video Location tags
Location tags are used to add an extra layer to your tagging. They will help you create high danger chances and also create shot maps where you can click on each individual shot and get instant videos of it in the analysis.
📘 Instructions
First, lets set up which location tags we want to use.
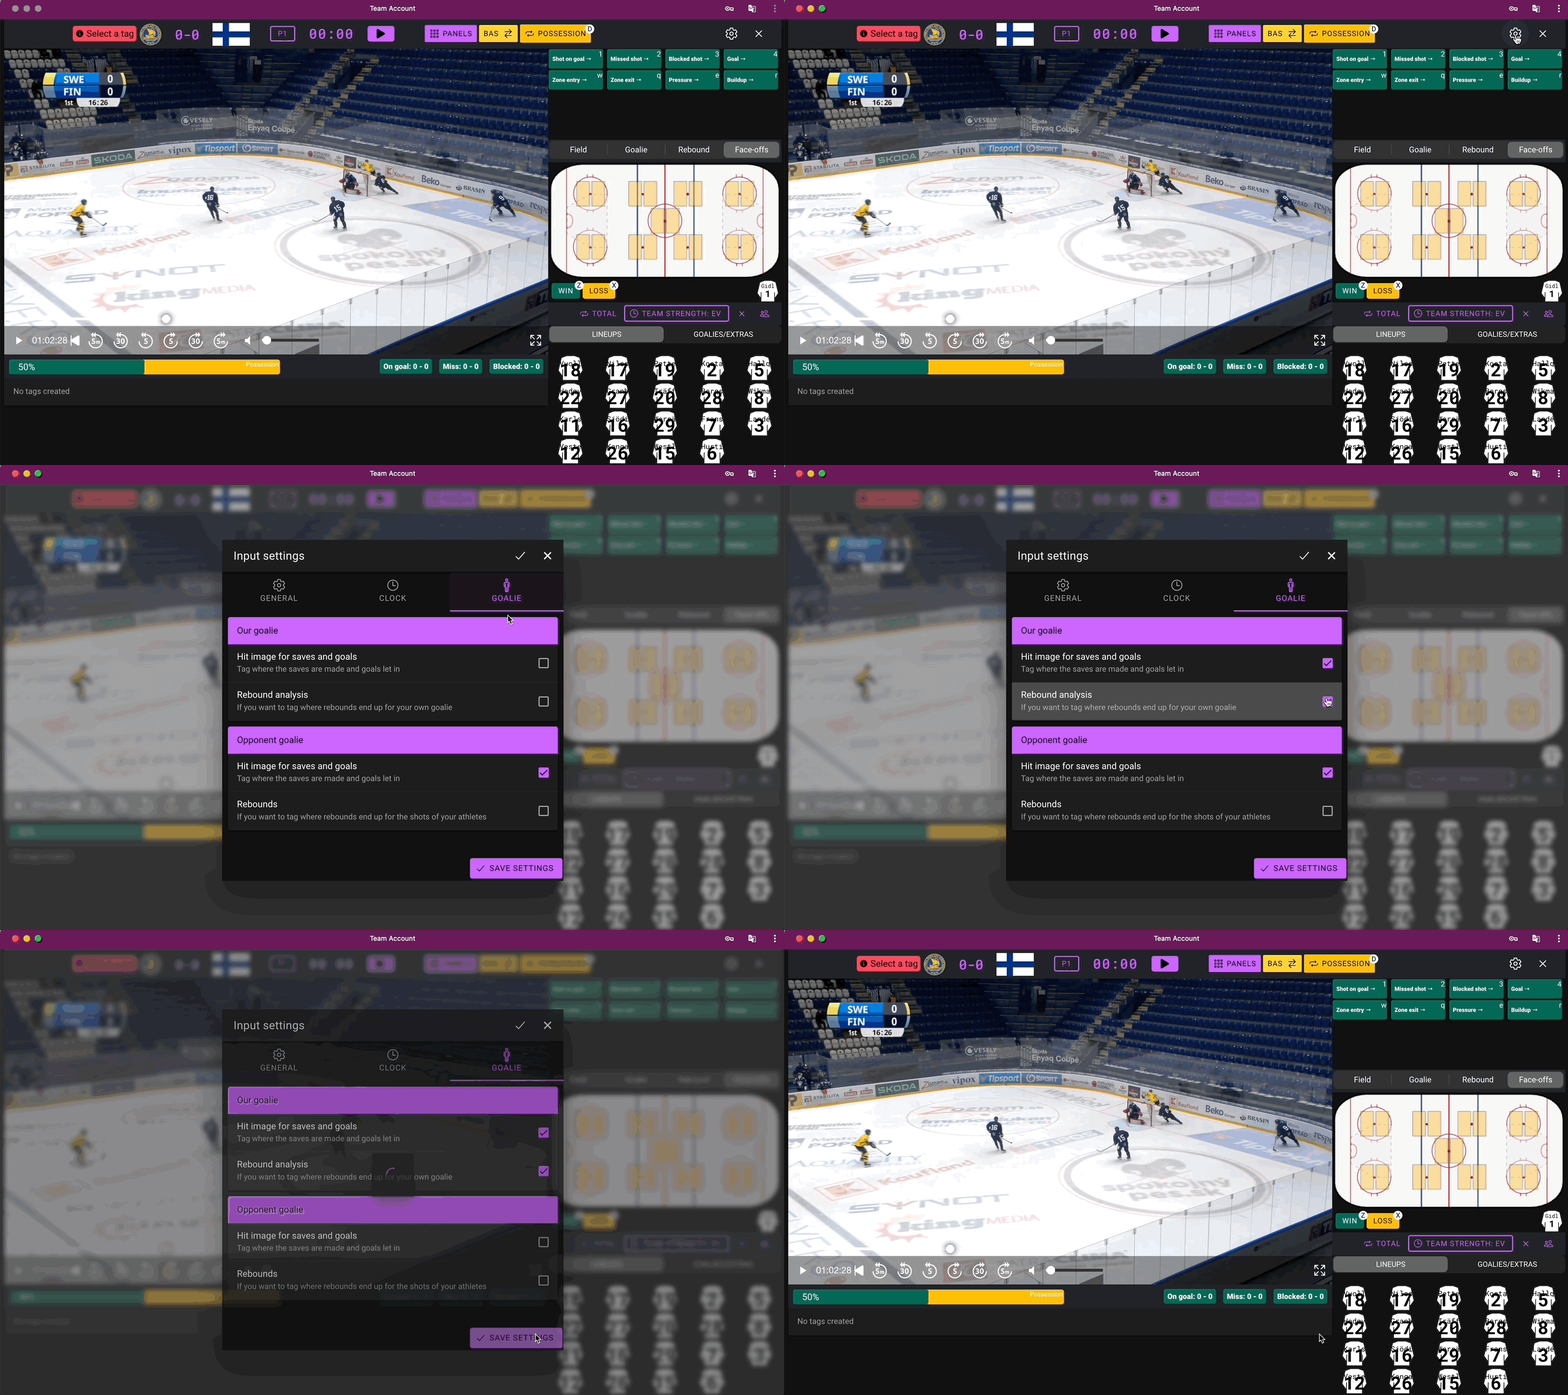
from the tagging page, click on the settings button on the top right corner and then on Settings.
From the popup window, click on goalie.
Here you can adjust your settings for what information you want to add such as where the the shot hit the goalie or where the goal let in and also where rebounds end up.

Click on the video to watch in full screen
Now that we have our setting done, lets watch how it works.
I activated both shots and rebound on our goalie. So when a shot on goal is tagged then you will first enter location of where the rebound goes, then where on the goalie and last where on the field.

Click on the video to watch in ful screen
If a goal is tagged the system will skip the rebound map.
For the opponents goalie we only selected where on the net the shot went.

Click on the video to watch in full screen
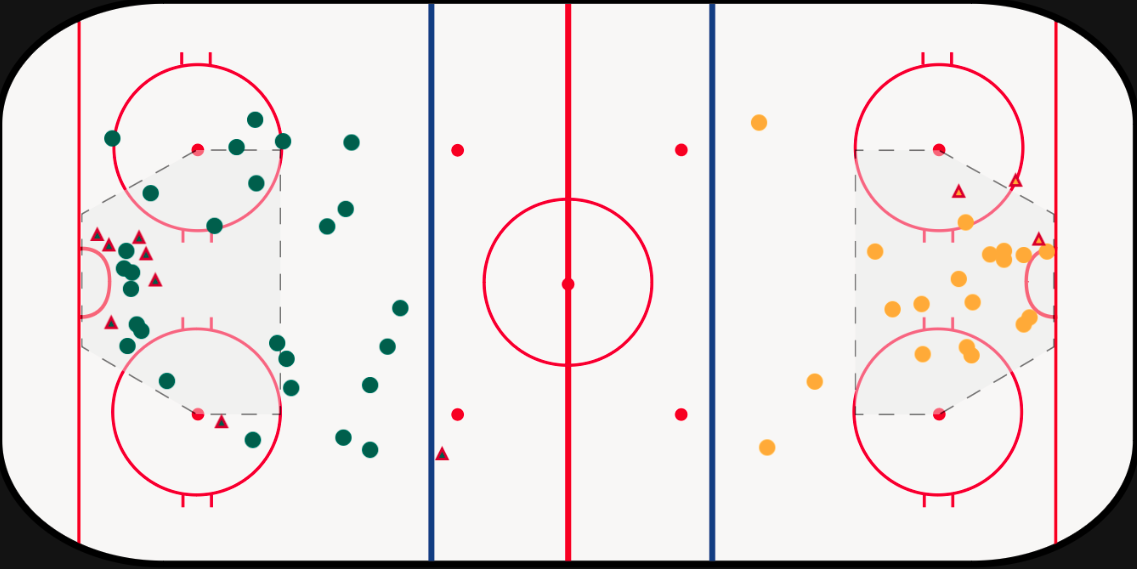
The result gives you an shot map where you can click on the shots and get instant video.

Just like with basic and medium multiple devices can be used to tag at the same time with Pro.
